
JatayuOS Beginner Guide: Live Login and Installation
Try the JatayuOS live desktop, use the live login, verify your ISO and prepare for installation with practical steps and original screenshots.
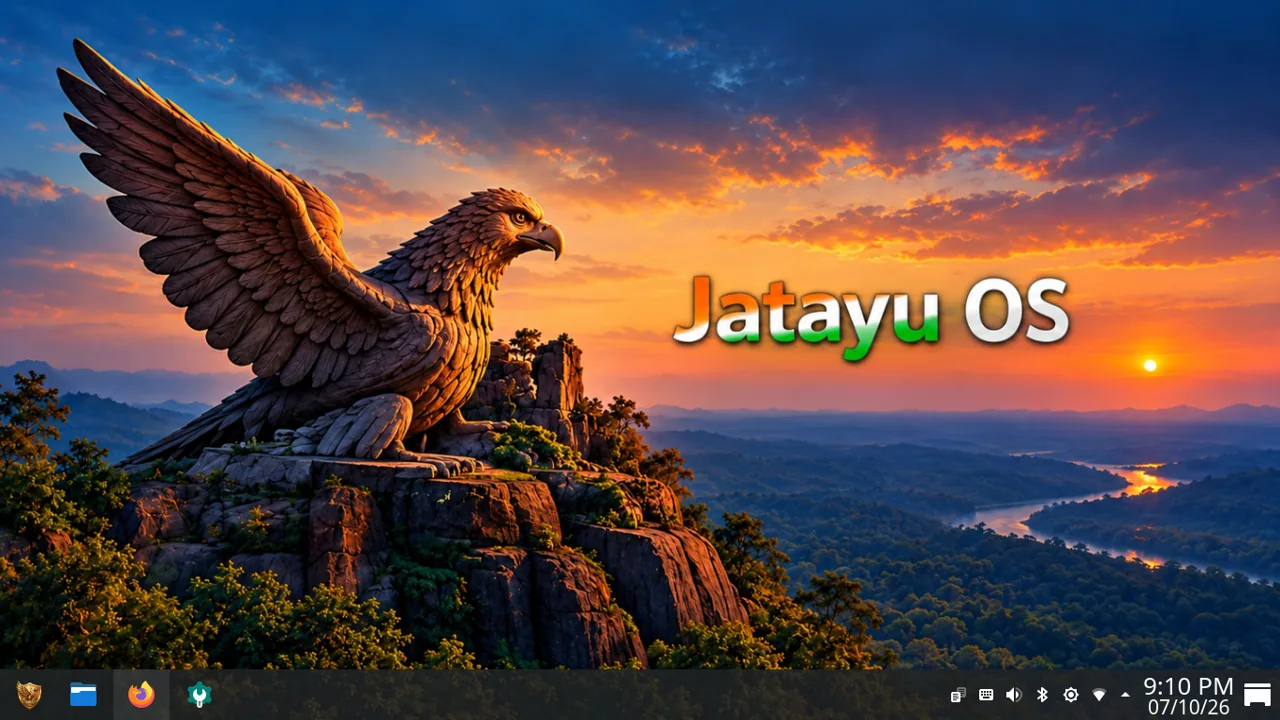
Your first session with JatayuOS is a chance to explore before committing to an installation. You can look around the desktop, open applications and check the hardware you rely on. There is no need to rush straight into partitioning your computer.
If the live environment asks you to sign in, the username is jatayuos and the password is live. No internet connection is required to install JatayuOS from its ISO. Downloading the image and performing online tasks are separate activities.
This guide takes you from download preparation to your first installed boot. It follows the project’s existing installation guidance; the illustrated Installation Guide is the companion reference for disk layouts and installer screens. Before starting, check the Download page for the current public release status.
Before you start: a short preparation checklist
You will need a compatible x86-64 computer, the official ISO when available, installation media and a clear plan for the target disk. The website’s system requirements lists minimum and recommended memory, storage and display specifications. Use at least 4 GB RAM; 8 GB or more is recommended.
Before writing a USB or launching an installer:
- Back up important files to a separate device, then check that the backup opens.
- Identify the intended installation disk by its model and capacity.
- Copy anything you need off the USB you will use; writing an ISO erases its contents.
- Keep the computer connected to power throughout installation.
- If preserving Windows, read the dual-boot section of the illustrated guide before changing partitions. Keep any relevant recovery information available.
For an initial rehearsal, a virtual machine with an empty, disposable virtual disk can reduce the consequences of choosing the wrong installation option. That rehearsal still does not establish compatibility with your physical computer or a different disk layout.
Step 1: download the official ISO and verify it
Start on the JatayuOS Download page. As of this guide’s 6 October 2026 update, the public download remains pending, with 11 October planned. Wait for the verified ISO link and checksum instead of using an unidentified copy.
Once the ISO is published, compare its SHA256 with the official release value. On Linux, you can calculate the checksum with:
sha256sum your-file.isoOn Windows, PowerShell provides:
Get-FileHash .\your-file.iso -Algorithm SHA256Replace your-file.iso with the actual filename. Compare the complete result, rather than just its beginning or end. If the release provides a SHA256SUMS file, the illustrated guide also explains checking the downloaded files against it.
If the values differ, stop and obtain a matching copy before proceeding. A checksum is only meaningful against a value obtained from a trusted source. If you download an archive containing an ISO, check the ISO against the ISO checksum after extraction.
Step 2: prepare a bootable USB
Use an image-writing application that supports writing a Linux ISO to USB. balenaEtcher’s official website is one source for an image writer and its instructions; follow the chosen tool’s documentation and any JatayuOS release-specific notes.
The general process is to select the ISO, select the removable target, and write the image. Check the USB’s identity and capacity before confirming. Do not select a drive just because it happens to be the first item shown.
Writing an installation image is different from copying the ISO into a folder on an ordinary USB. Let the image writer finish its process. An image writer’s verification step and the official ISO checksum check serve different purposes, so complete both when available.
If the computer does not detect the USB later, make a note of the writer, USB model and exact error or behavior before trying another approach.
Step 3: start the JatayuOS live environment
Use your computer’s boot menu to select the installation USB. The boot-menu key varies by manufacturer; consult the computer’s own documentation if you are unsure.
Choose the normal live-system entry shown by the release’s boot menu. In a virtual machine, attach the ISO as optical media and use the separate virtual disk you prepared.
If a login is requested, enter:
| Live-session field | Value |
|---|---|
| Username | jatayuos |
| Password | live |
These credentials belong to the live environment. They are not the account you should create for everyday use after installation.
The supplied desktop screenshot above shows the installation shortcut and a link to installation guidance. Your screen may differ with the release, resolution and hardware, so use the relevant guide alongside it.
Step 4: use Aarambh to find your way around
Aarambh is the welcome application. Its supplied screenshot shows documentation buttons and shortcuts for Files, Firefox, Software Center, System Settings, Jatayu Tools and Wallpaper Changer.
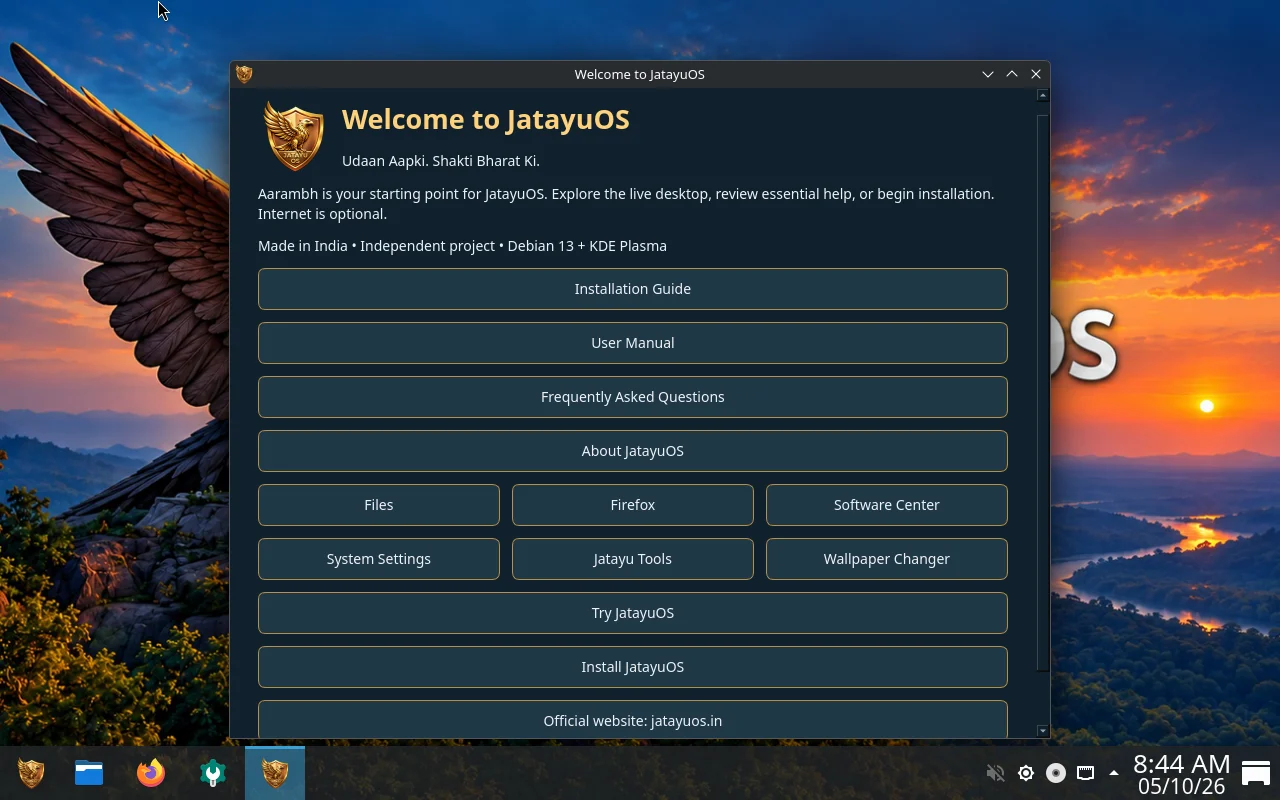
Begin by exploring the desktop. Open Files to look at the file manager, System Settings to find display and input controls, and the applications you expect to use. The Jatayu app guide explains the project-specific collection.
For general desktop background, the official KDE Plasma page introduces the launcher, panel and settings. Its examples describe upstream Plasma; they may not exactly match JatayuOS’s theme or configuration.
Step 5: check essential hardware before installing
A desktop that boots is encouraging, but you still need to check the things that make it usable for you. Work through a few ordinary tasks:
- Display: check readability, resolution and an external screen if you use one.
- Keyboard: type a short sentence and check the keys you regularly use.
- Pointing device: test movement, tapping, physical clicks and scrolling.
- Sound: play a short audio sample and check output selection if needed.
- Network: check the Wi-Fi or Ethernet connection you expect to use.
- Files and applications: try a copy of a typical document with its intended application.
Use sample files or copies while evaluating the system. If something fails, record the computer model, JatayuOS version and the steps that reproduce it. Send those details through Support & contact rather than guessing that installation will resolve the problem.
These checks do not establish every installed-system behavior. Power management, driver updates and particular applications may need additional testing on your hardware.
Step 6: open the installer and choose your settings
When you are ready, open Install JatayuOS from the live desktop or welcome application. The existing illustrated guide describes reviewing location/timezone and keyboard settings before continuing.
Installing from the ISO does not require internet access. An offline installation can therefore be practical even when you cannot connect the target computer yet. Internet will be needed later for updates and other online activity.
Create your own user account and a strong password when the installer asks for them. Keep those credentials available for the first installed login.
Exact screens can depend on detected disks and firmware mode. Use the web installation guide and the illustrated PDF as the references for the release you are installing.
Step 7: review disk choices before approving changes
This is the part to slow down for. A clean installation and an installation that preserves another system have different requirements.
An erase-disk option deletes the existing data on the selected target disk. Use it only when you have deliberately decided that the disk’s contents can be removed. It is not a way to keep Windows and personal files automatically.
Manual partitioning requires understanding the existing layout, filesystem choices and firmware mode. Avoid applying a partition recipe from another computer without checking whether it fits yours. The illustrated guide explains why BIOS and UEFI layouts need different consideration.
Before approving the final summary, check:
- The selected physical or virtual disk is the intended target.
- Every partition marked for creation, formatting or removal is expected.
- Partitions you intend to preserve are not scheduled for formatting.
- You understand what will happen to the existing operating system and files.
If the summary is unclear, stop before confirming it. Use the guide or ask for help with the actual disk layout. A successful installation on one machine is not evidence that another layout is safe to modify.
Step 8: finish installation and start the installed system
Wait for installation to finish without disconnecting power or the target drive. Restart when prompted, and remove or detach the installation media when it is safe to do so.
Boot from the installed disk and sign in with the account you created, rather than the public live-session credentials.
If you return to the live desktop and see its installation shortcut again, check whether the machine is still booting the USB or ISO. Do not assume that the installation failed solely because the live environment appeared.
Once you reach the installed desktop, repeat the essential hardware checks and open a few applications. When internet access is available, review the system’s update tools and any release-specific guidance. Keep your backups until you have confirmed that the setup works for your needs.
Common questions from first-time users
Will trying the live desktop erase my files?
Starting a live session does not itself approve an installation. However, the live environment can offer tools that modify disks. Keep evaluation separate from partition changes, and read any confirmation before accepting it.
What should I do if the computer does not boot the USB?
Check the ISO checksum, image-writing result and selected boot device. Record the displayed error and firmware settings before making changes. Refer to the final release’s tested boot configurations and contact support if the problem remains.
Can I use the live password after installation?
Use the account and password you created in the installer. jatayuos / live are the public live-session credentials.
Can I keep Windows alongside JatayuOS?
Read the Windows UEFI/manual dual-boot section of the illustrated guide and verify your particular layout before proceeding. Support depends on the final release and your setup; do not treat a generic guide as approval to modify an unfamiliar disk.
Where to get help
For JatayuOS-specific questions, begin with documentation and support. For general Debian background, Debian user support provides upstream resources. Make clear which JatayuOS version you are using when asking for help.
The screenshots were supplied by the JatayuOS maintainer. Installation guidance draws on the supplied Installation Guide, edition 1, dated 5 October 2026. Always check current release notes before changing disks.
Keep exploring.
Introducing JatayuOS 1.0 Udaan
Meet JatayuOS 1.0 Udaan: a free Debian 13 desktop with KDE Plasma, Jatayu Tools, live-session access and offline installation, made in India.
7 Oct 2026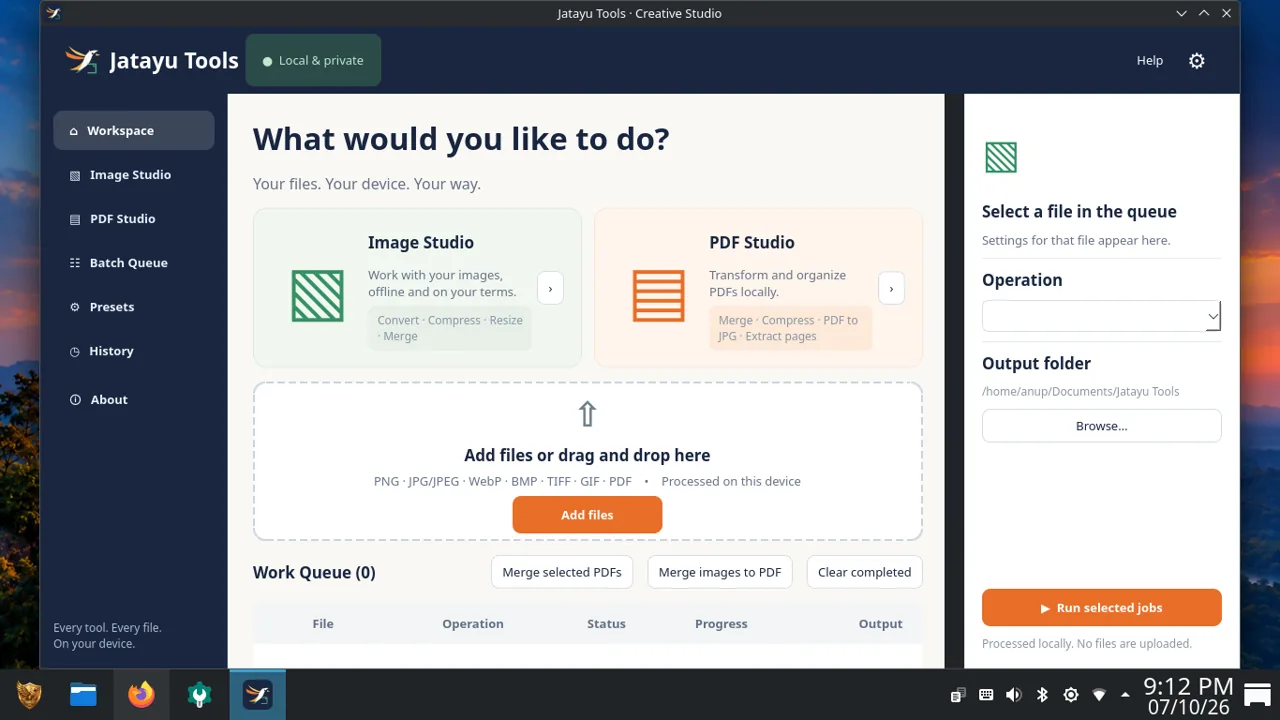
Create More with Jatayu Tools
Discover JatayuOS apps with original screenshots: Creative Studio for image and PDF workflows, Aarambh, Wallpaper Changer, Kavach, Sarkar Setu and Utsav.
6 Oct 2026